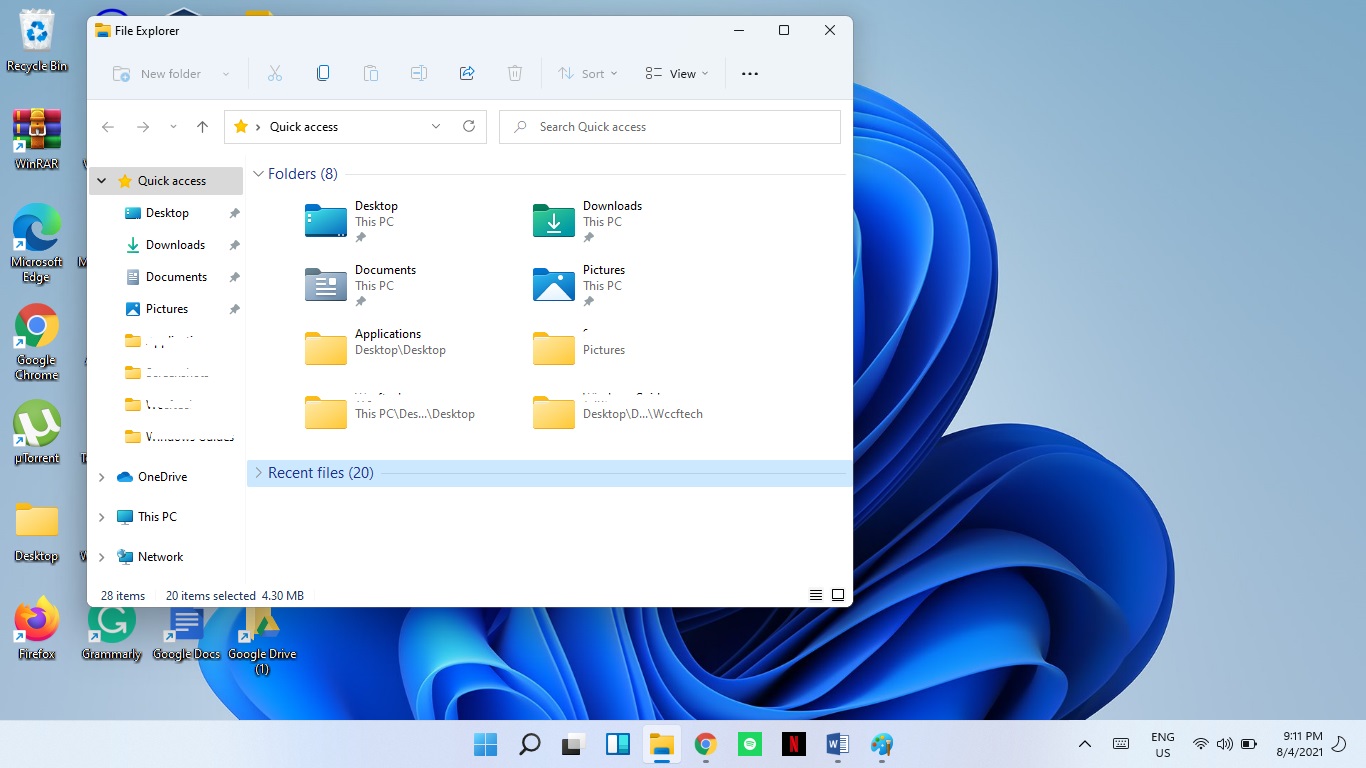
File Explorer is an essential component of Windows 11, allowing users to navigate and manage files, folders, and drives.
However, it can sometimes malfunction, causing frustration and disrupting productivity. Common issues include File Explorer not opening, freezing, crashing, or failing to display files correctly.
Restarting explorer.exe
One of the simplest ways to address File Explorer issues is by restarting the explorer.exe process. This process is responsible for managing the graphical interface of Windows, including the taskbar, Start menu, and File Explorer. If it becomes unresponsive, restarting it can often resolve the problem.
- Press Ctrl + Shift + Esc to open the Task Manager.
- Locate Windows Explorer under the Processes tab.
- Right-click on it and select Restart.
If the issue persists, you can manually end the process and restart it. To do this, follow these steps:
- In Task Manager, right-click on Windows Explorer and select End task.
- Click on File in the top-left corner of Task Manager and select Run new task.
- Type explorer.exe and press Enter.
Running SFC and DISM Commands
If restarting explorer.exe does not resolve the issue, corrupted system files may be the cause. Windows 11 includes built-in tools to repair these files: System File Checker (SFC) and Deployment Imaging Service and Management (DISM).
The SFC tool scans and repairs corrupted system files, while DISM repairs the Windows image. To use these tools, follow these steps:
- Open Command Prompt as an administrator by searching for cmd in the Start menu, right-clicking on it, and selecting Run as administrator.
- Type sfc /scannow and press Enter. This process may take several minutes.
- Once the scan is complete, type DISM /Online /Cleanup-Image /RestoreHealth and press Enter.
- Restart your computer after both commands have completed.
Resetting File Explorer Settings
If the above methods do not resolve the issue, resetting File Explorer settings may help. This process restores File Explorer to its default configuration, which can fix issues caused by incorrect settings or third-party modifications.
- Open the Start menu and search for File Explorer Options.
- Click on the View tab and select Reset Folders.
- Click Apply and then OK to save changes.
Updating Windows 11
Outdated system files or bugs in the operating system can also cause File Explorer to malfunction. Ensuring that your system is up to date can resolve these issues.
- Open the Start menu and go to Settings.
- Navigate to Windows Update and click Check for updates.
- Install any available updates and restart your computer.
Performing a Clean Boot
If File Explorer continues to malfunction, third-party applications or services may be interfering with its operation. Performing a clean boot can help identify the cause.
- Press Windows + R, type msconfig, and press Enter.
- In the System Configuration window, go to the Services tab and check Hide all Microsoft services.
- Click Disable all and then go to the Startup tab.
- Open Task Manager and disable all startup items.
- Restart your computer and check if File Explorer works correctly.
Reinstalling File Explorer
If none of the above methods work, reinstalling File Explorer may be necessary. This process involves using PowerShell to reinstall the default Windows apps, including File Explorer.
- Open PowerShell as an administrator by searching for it in the Start menu, right-clicking, and selecting Run as administrator.
- Type the following command and press Enter: Get-AppXPackage -AllUsers | Foreach {Add-AppxPackage -DisableDevelopmentMode -Register “$($_.InstallLocation)\AppXManifest.xml”}.
- Restart your computer after the process completes.


