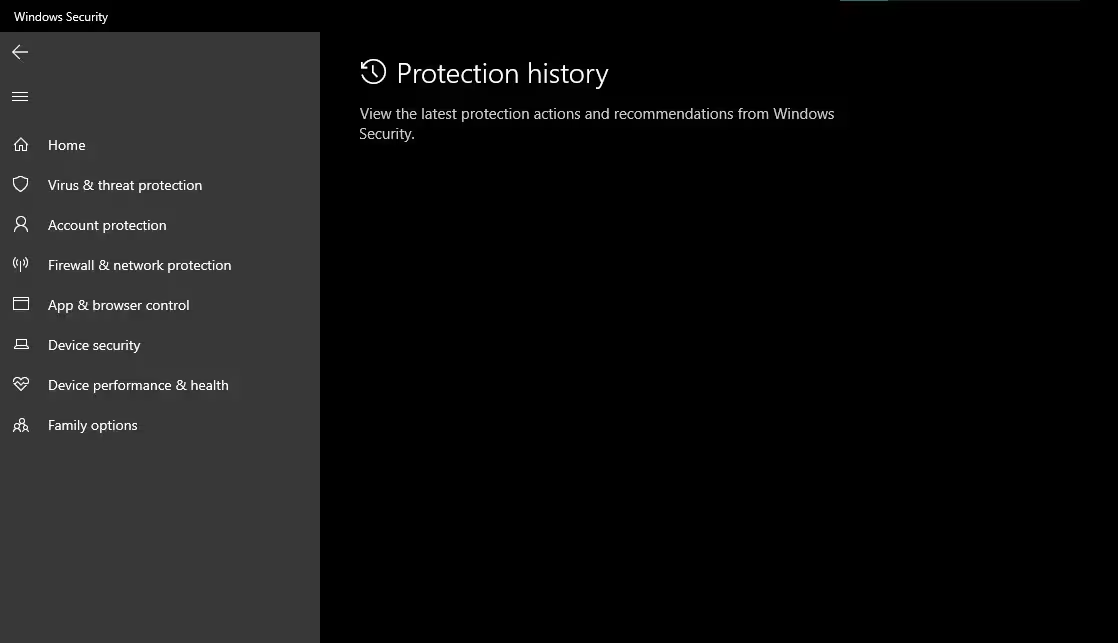
Protection history in Windows Defender is a log that records all security-related events, including detected malware, quarantined files, and completed scans. This feature is essential for monitoring the health of your system and ensuring that threats are properly addressed. When the protection history is missing, it becomes difficult to verify whether the system has been compromised or if threats have been neutralized.
The absence of protection history can occur due to several reasons, such as corrupted system files, misconfigured security settings, or issues with the Windows Defender service.
Check Windows Defender Settings
Before diving into advanced troubleshooting, ensure that the protection history feature is enabled in Windows Defender. Follow these steps:
- Open Windows Security by searching for it in the Start menu.
- Navigate to Virus & threat protection.
- Click on Protection history under the “Current threats” section.
- If the history is missing, proceed to the next steps.
If the protection history section is inaccessible or blank, it may indicate a deeper issue with the system configuration or Windows Defender itself.
Run the Windows Defender Troubleshooter
Windows includes a built-in troubleshooter specifically designed to resolve issues with Windows Defender. To use this tool:
- Open Settings and go to Update & Security.
- Select Troubleshoot from the left-hand menu.
- Click on Additional troubleshooters.
- Locate and run the Windows Defender troubleshooter.
The troubleshooter will scan for issues and attempt to fix them automatically. If any problems are detected, follow the on-screen instructions to resolve them.
Reset Windows Defender via Command Prompt
If the troubleshooter does not resolve the issue, you can reset Windows Defender using Command Prompt. This process reinstalls the Windows Defender components, which can fix corrupted files or settings. Here’s how:
- Open Command Prompt as an administrator.
- Type the following command and press Enter:
sfc /scannow. - Wait for the System File Checker to complete the scan and repair any corrupted files.
- Next, run the command:
DISM /Online /Cleanup-Image /RestoreHealth. - Restart your computer after the process completes.
These commands ensure that system files related to Windows Defender are intact and functioning correctly.
Re-enable Windows Defender
In some cases, Windows Defender may have been disabled, either manually or by third-party software. To re-enable it:
- Open Windows Security and go to Virus & threat protection.
- Click on Manage settings under “Virus & threat protection settings.”
- Ensure that Real-time protection and Cloud-delivered protection are turned on.
If Windows Defender was disabled, re-enabling it should restore access to the protection history.
Update Windows and Windows Defender
Outdated software can lead to compatibility issues and missing features. Ensure that both Windows and Windows Defender are up to date:
- Open Settings and go to Update & Security.
- Click on Windows Update and select Check for updates.
- Install any available updates and restart your computer if prompted.
Updating the system ensures that you have the latest security patches and bug fixes, which can resolve issues with missing protection history.


