Screen recording is a valuable tool for creating tutorials, capturing gameplay, or sharing presentations. If you own a Mac, you can record your screen for free using built-in tools or third-party applications.
Using QuickTime Player for Screen Recording
QuickTime Player is a pre-installed application on macOS that allows you to record your screen without downloading additional software. Follow these steps to get started:
- Open QuickTime Player from the Applications folder or by searching for it in Spotlight.
- Click on File in the menu bar and select New Screen Recording.
- A recording toolbar will appear. Click the red Record button to start capturing your screen.
- Select the area of the screen you want to record by dragging the cursor. To record the entire screen, click anywhere outside the selection box.
- Once finished, click the Stop button in the menu bar or press Command + Control + Esc.
- Save the recording by clicking File > Save and choosing a location on your Mac.
QuickTime Player also allows you to record audio alongside your screen capture. To enable this, click the arrow next to the Record button and select your microphone input.
Alternative Free Tools for Screen Recording
While QuickTime Player is a reliable option, there are other free tools available for more advanced features. Below are two popular alternatives:
OBS Studio
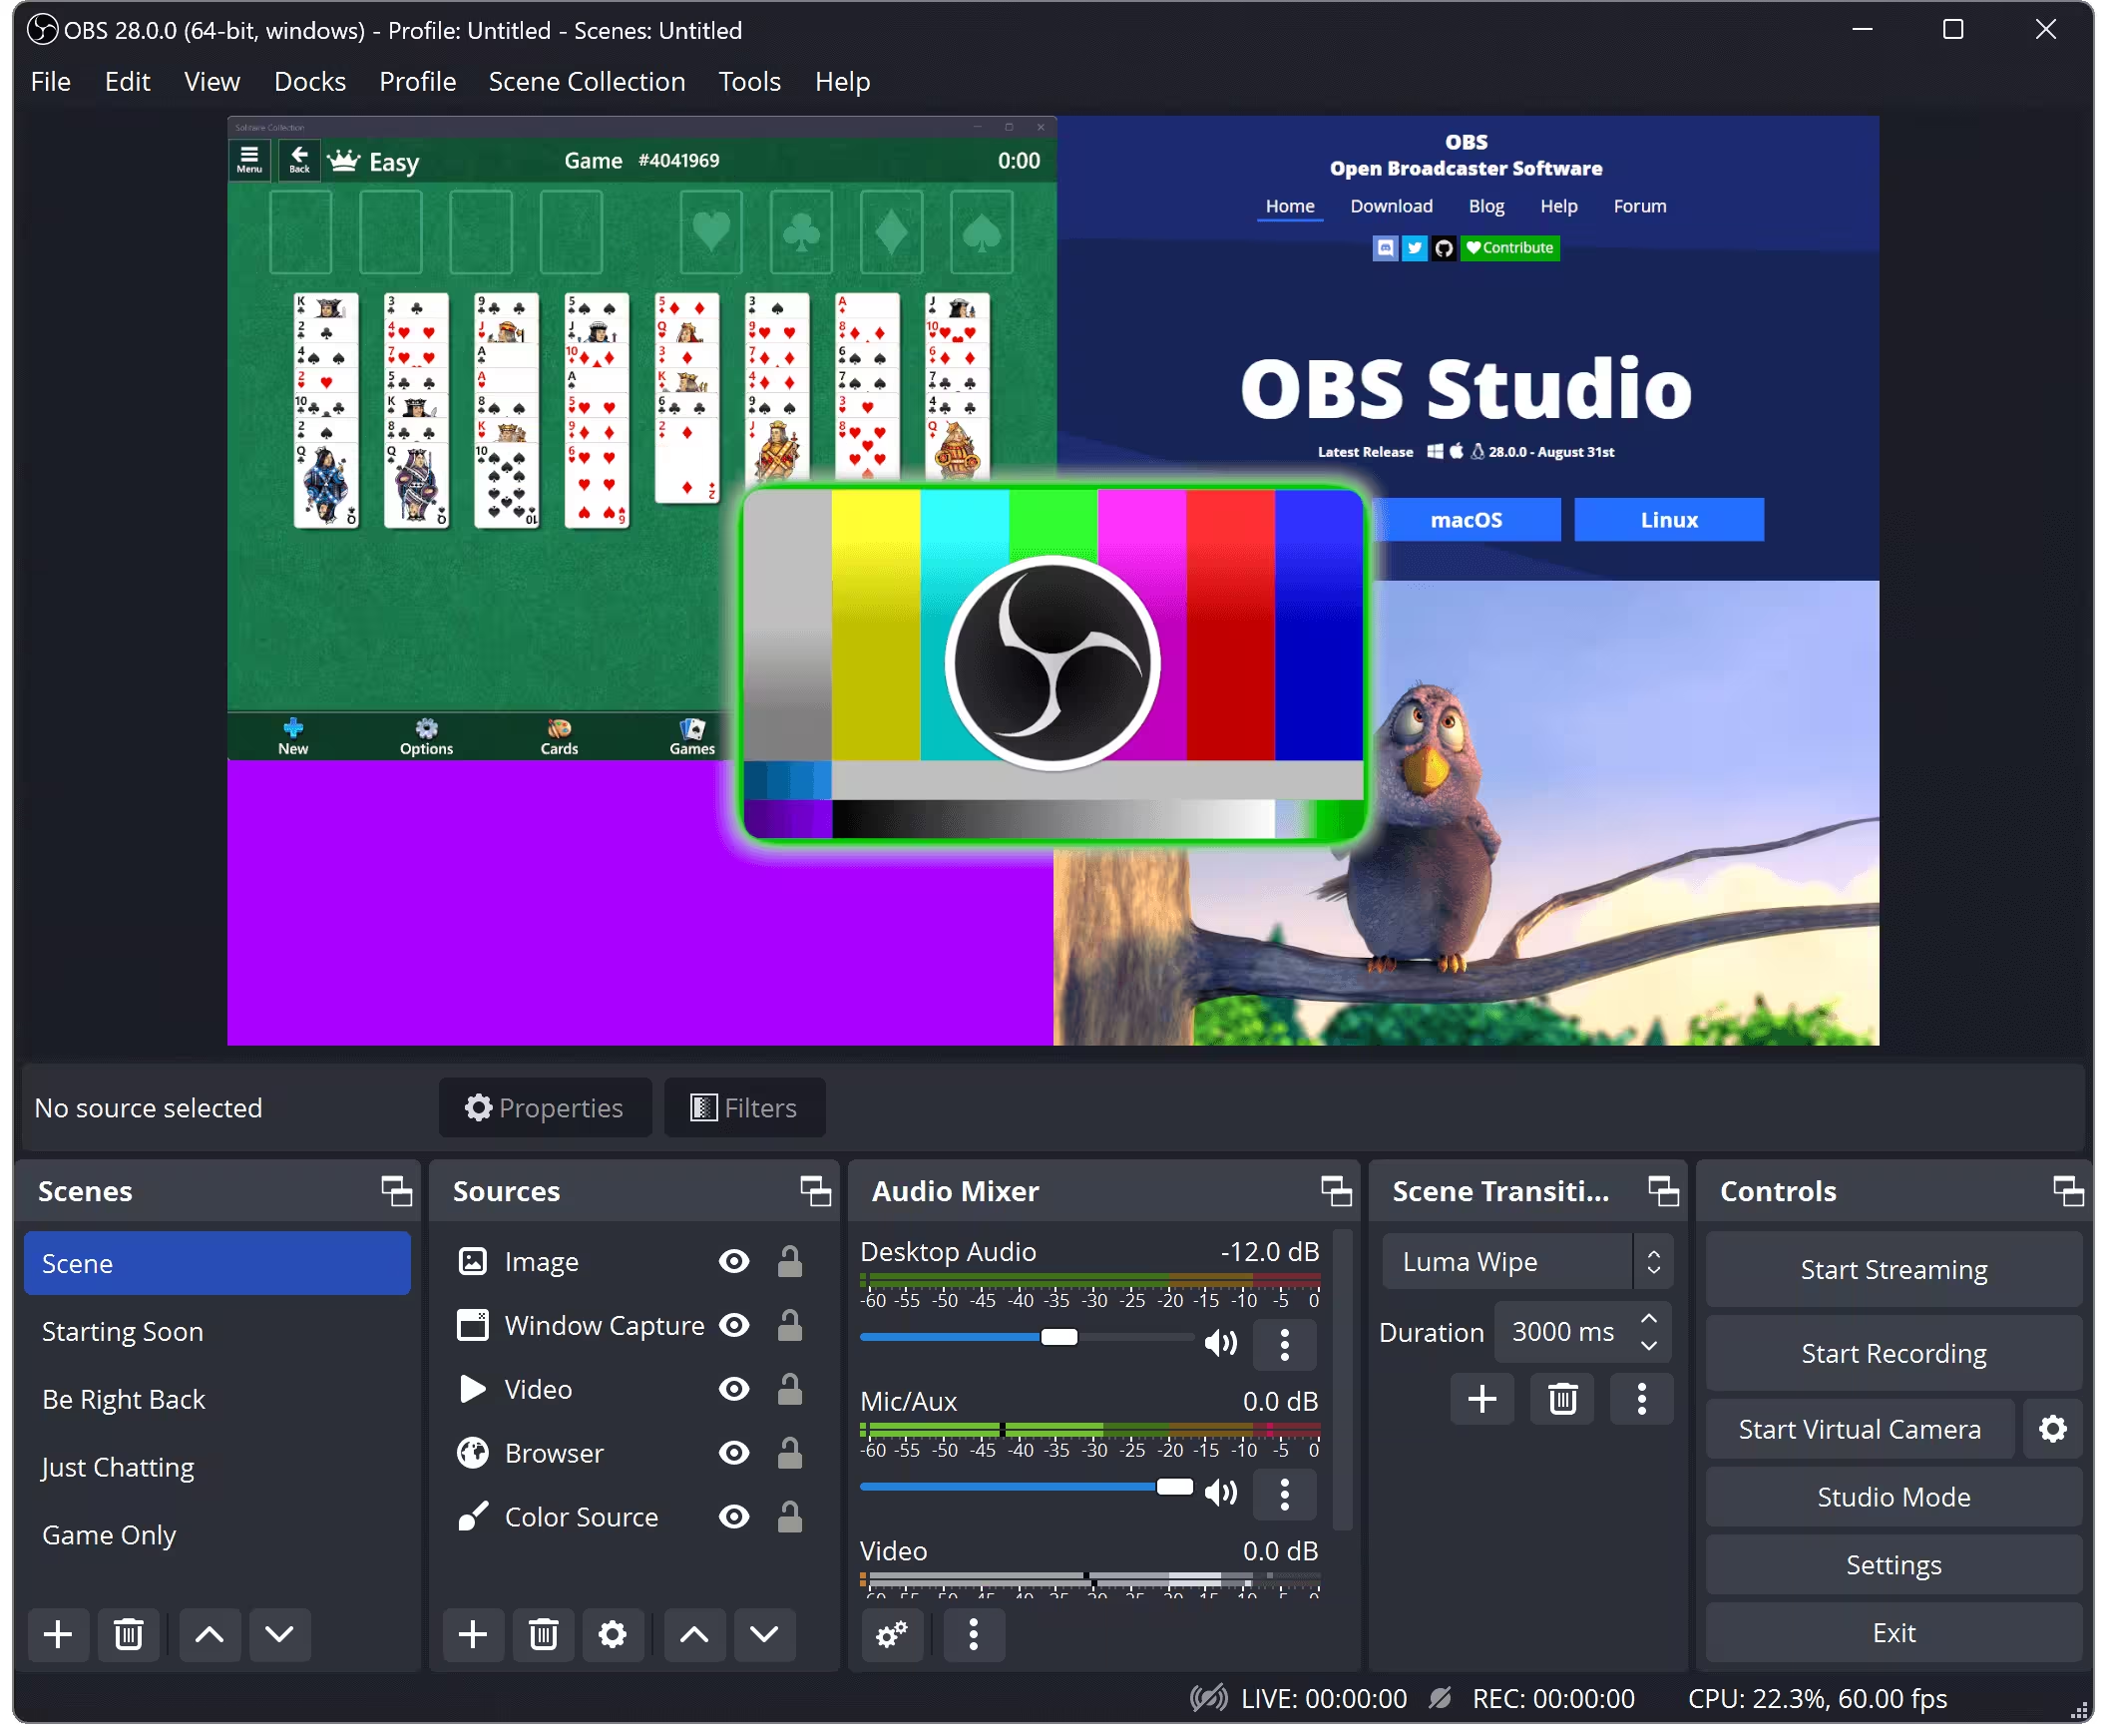
OBS Studio is a free, open-source software widely used for screen recording and live streaming. It offers advanced features like scene transitions, audio mixing, and customizable overlays. Here’s how to use it:
- Download and install OBS Studio from the official website.
- Open the application and click the + button under Sources to add a new source.
- Select Display Capture to record your entire screen or Window Capture for a specific application.
- Configure your audio settings by adding a Audio Input Capture source for your microphone.
- Click Start Recording to begin capturing your screen.
OBS Studio is ideal for users who need more control over their recordings, such as content creators or educators.
Monosnap
Monosnap is a lightweight screen recording tool that also supports screenshot capture. It’s user-friendly and perfect for quick recordings. Follow these steps:
- Download Monosnap from its official website and install it on your Mac.
- Open the application and click the Record Screen button.
- Select the area of the screen you want to record or choose Full Screen.
- Click the Record button to start capturing. You can pause or stop the recording using the toolbar.
- Save the recording to your desired location.
Monosnap is a great option for users who prefer simplicity and quick access to screen recording features.
Tips for Effective Screen Recording
To ensure high-quality recordings, consider the following tips:
- Close unnecessary applications to free up system resources and avoid lag.
- Use an external microphone for better audio quality if you’re recording voiceovers.
- Adjust the resolution and frame rate settings in your recording tool to balance quality and file size.
- Test your setup before recording to avoid technical issues during the actual session.


